
- Advanced Camera Systems: Features a 4/3 CMOS Hasselblad main camera and a medium tele camera with up to 28x hybrid zoom for high-quality imaging.
- Safety and Sensing Technology: Equipped with omnidirectional obstacle sensing and APAS 5.0 for safe and mindful flying.
- Extended Flight Time and Enhanced Transmission: Offers up to 43 minutes of flight time and DJI O3+ transmission for long-range, stable connectivity.
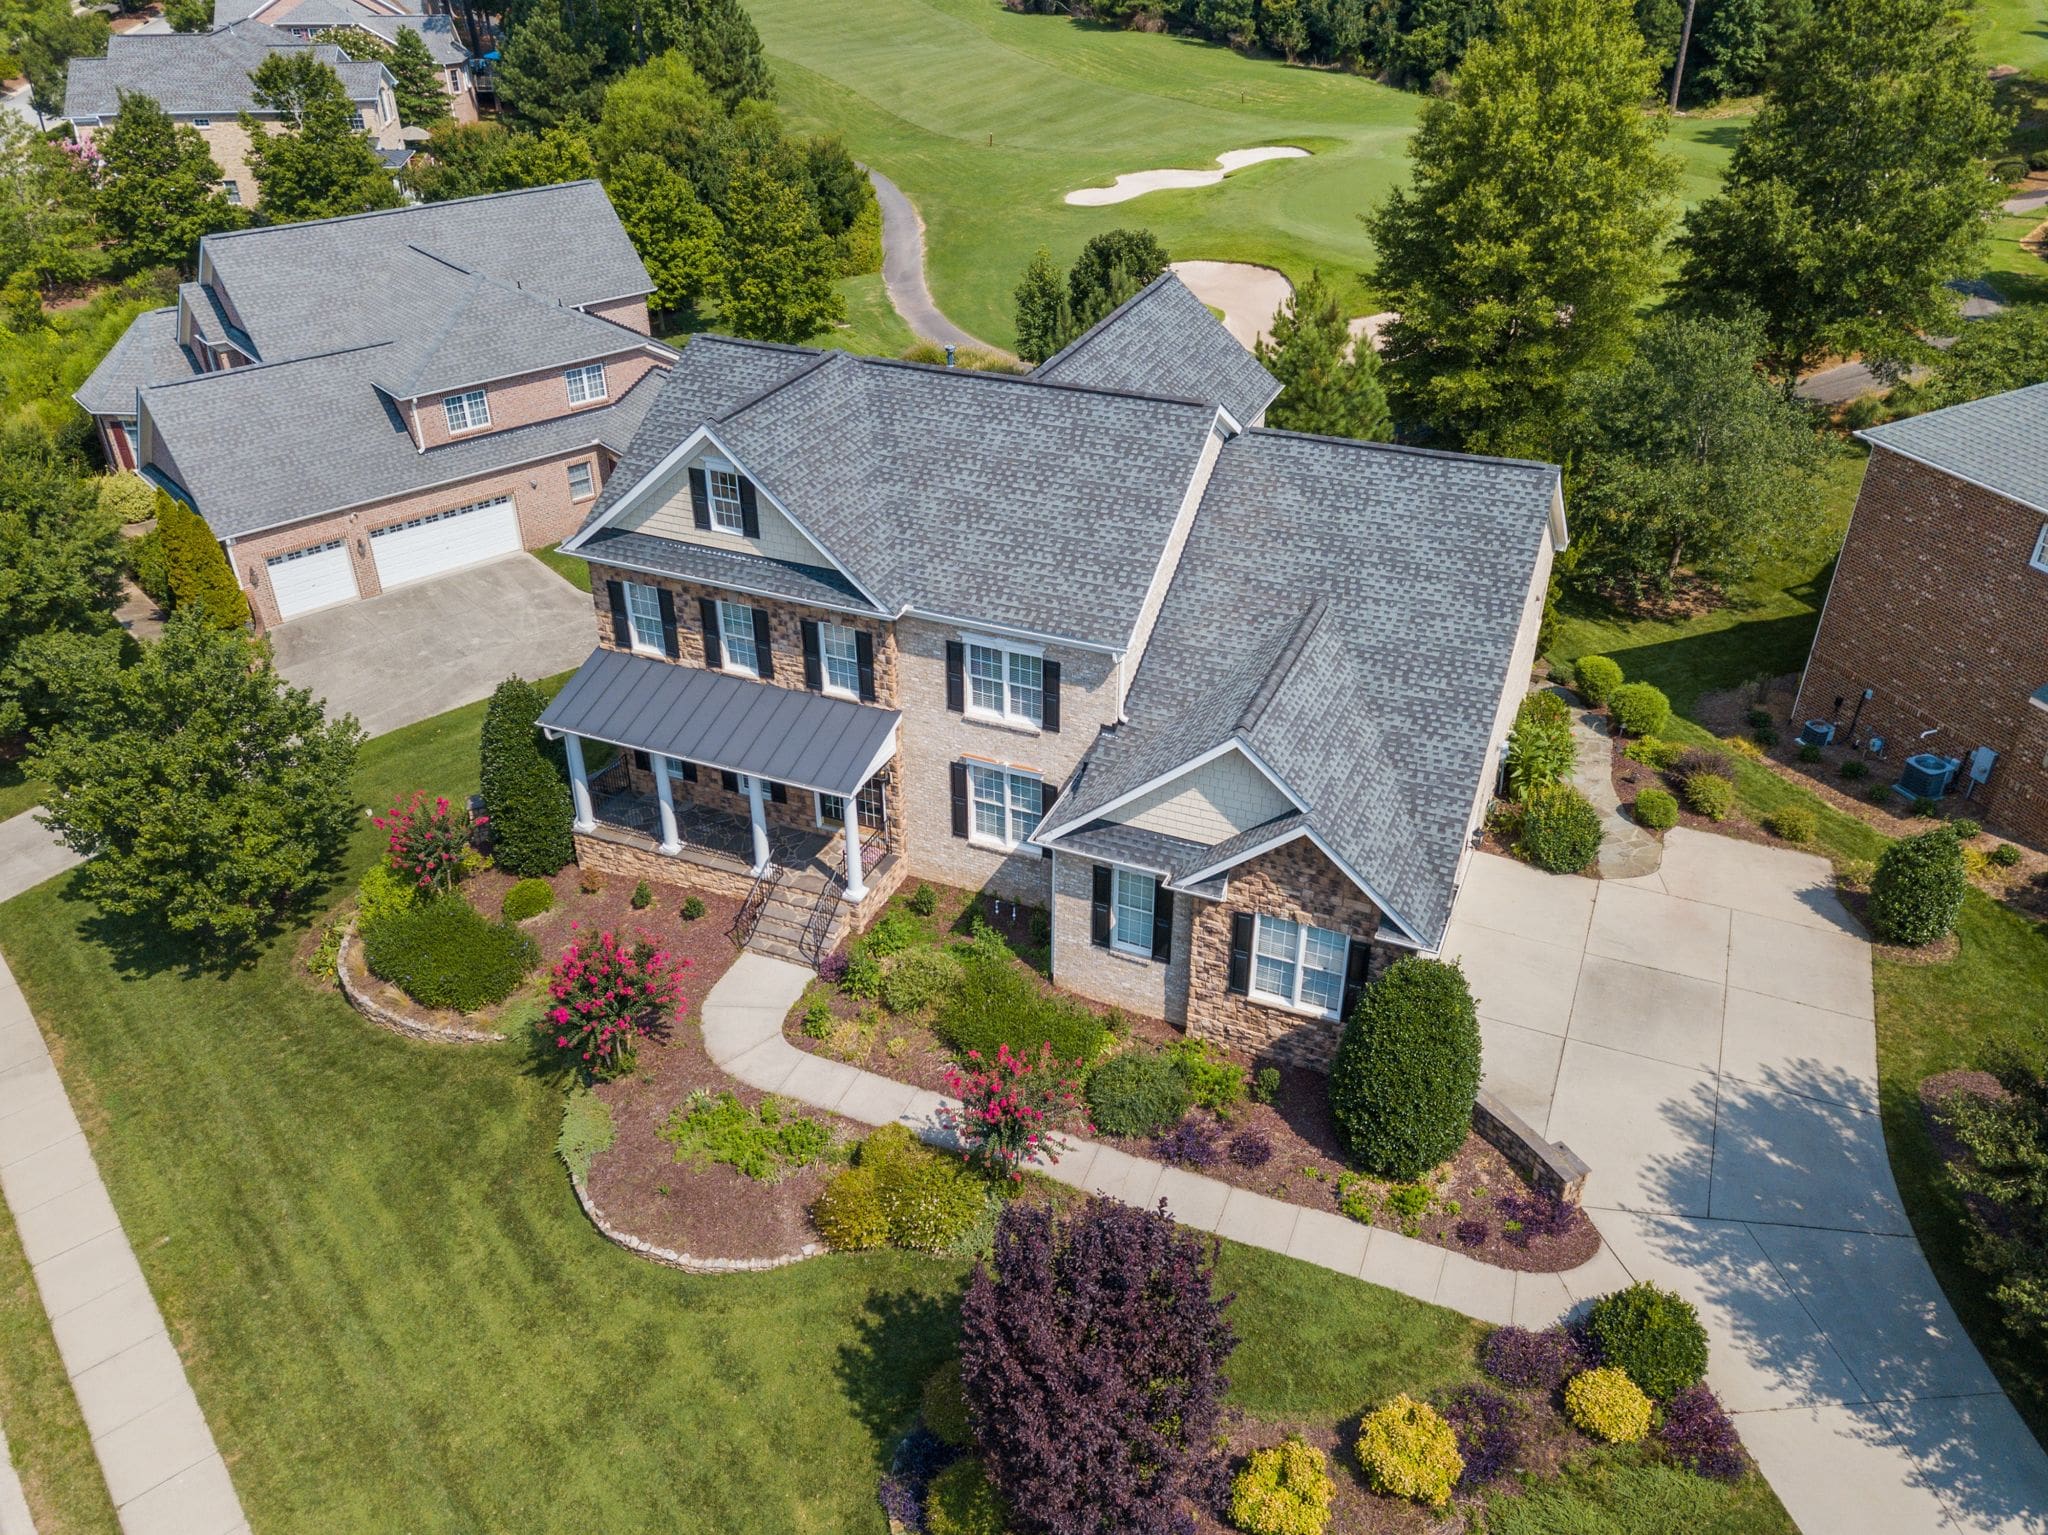
Video credit: First American Roofing & Siding, Inc.
Comparing drone inspections vs. manual inspections
Drone Inspection | Manual Inspection | |
Duration | Fast and efficient | Several hours, could take a couple of days |
Safety | The drone could crash into the building | Inspectors are at risk, especially for challenging roofs |
Accessibility | A drone pilot can keep a safe distance and access the entire roof | Ladders and other equipment are often needed |
Precision | High-resolution imaging is a major plus | Human error is a factor |
Data Collection | Photos and videos can easily be shared with the client | Analog documentation is can be cumbersome |
Major Advantages
Some of the major advantages of using a drone to inspect a roof boil down to safety, time efficiency, and cost savings.
- Safety Enhancement: Roofers don’t need to physically climb on top of the roof for inspections.
- Time Efficiency: A residential roof can literally be surveyed in 30mins or less
- Cost Savings: Less time and equipment means lower prices for customers.
Top Picks for Drone Roof Inspection Software
Let’s take a detailed look at the leading drone roof inspection software currently available:
Software | Overview | Unique Features |
IMGING automates image capturing, photo organization, and data analysis. | Damage detection, identifying issues such as rust, soft metal damage, exposed underlayment, alligatoring and cracking, ponding water, and blistering on flat roofs. | |
Create customizable 3D maps, drone roof measurements. | Generate 3D models and DXF files that can be used with programs like AutoCAD. | |
Catered toward construction roofing project | Generates measurable 3D models, calculations, and more. |
Step-by-step Guide to Performing Roof Inspections with a Drone
If you’re just getting started with your first roof inspection with a drone, here are the key steps:
Step 1: Plan Your Flight Path
Step 2: Preparing the Drone for Flight
Step 3: Executing the Flight Plan
Step 4: Transferring and Processing the Data Post-Inspection
Best Practices for Using Drone Software in Roof Inspections
Keep in mind the following best practices as you inspect roofs and use drone software for your analysis:
- Choose the Right Equipment: Investing in the right equipment could make or break your drone inspection business. This includes your drone, camera, landing gear, and more.
- Charge Your Batteries: The last thing you need to have happen is to run out of battery juice when you pull up to your assignment. Charge ’em up the night before so you’re ready.
- Calibration is Key: Make sure your gimbal is dialed, along with imaging sensors and file storage.
- Data Management: Like your days in grade school – save your work! Back everything up to your computer or hard drive in case anything happens.
Follow these steps and you got this!
Best Drones for Roof Inspections
While the choice is ultimately up to you, picked a few drones from a previous article, top drones used for roof inspections.
These drones apply for both commercial and residential. Features to consider include camera quality, flight time, ease of control, and additional capabilities like thermal imaging.
- DJI Mavic 3: Best Drone for High Wind Roof Inspection. 4/3 Hasselblad camera and a 5.1K video resolution.
- DJI Mavic Air 2S: Provides 4K UHD videos and 12 MP photos. Features like ActiveTrack and Point of Interest assist in thorough inspections, making it a top choice for roofers.
- DJI Mini 3 Pro: Best Low-Cost Drone for Roof Inspection. Economical yet efficient, the DJI Mini 3 Pro weighs under 249 g.
- Parrot Anafi: 4K HDR camera with a foldable design. Easy and durable.
Beneficiaries of Drone Roof Inspections
The two major stakeholders of drone roof inspections are: roofing professionals and building owners.
For roofing professionals, drones offer a safer and more efficient alternative to traditional roof inspections.
Then, building owners will benefit for lower costs and better roof data.
Final Thoughts
Good luck out there and again – just get started! Once you get your drone and some clients, you’ll be well on your way to providing stellar roof inspections that really “wow” your clients. All the best 🙂