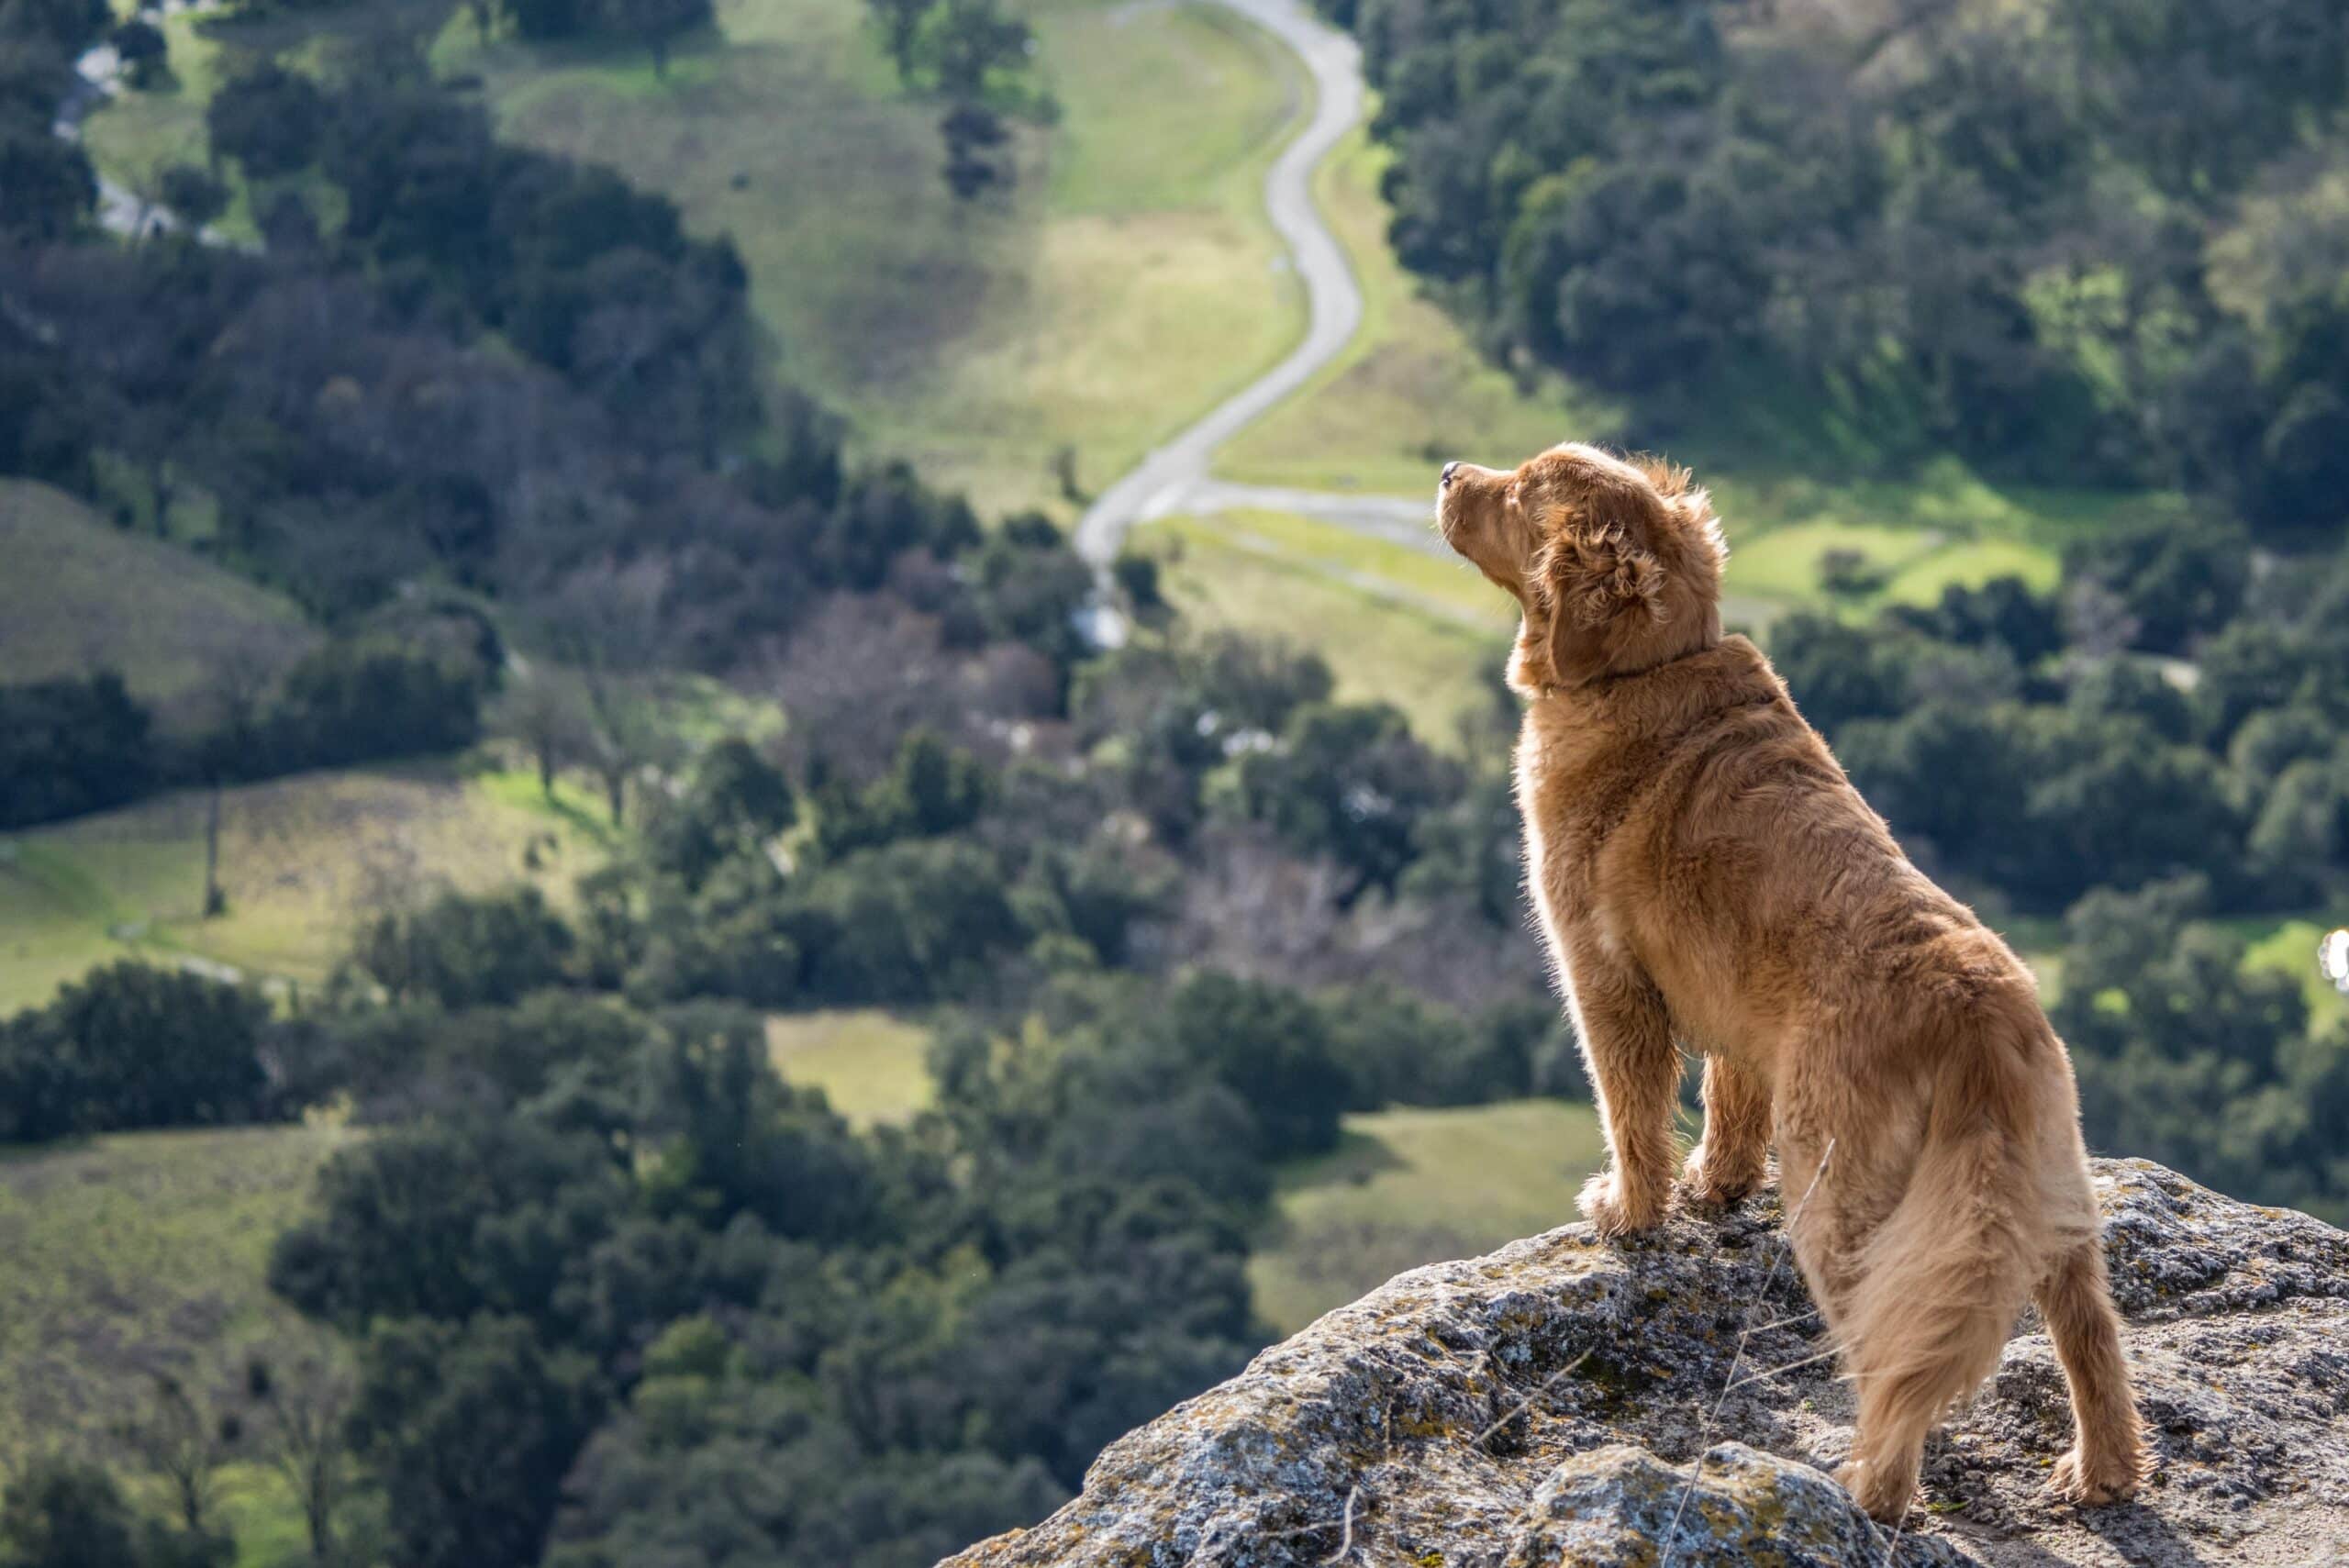
Venturing into the realm of drone photography opens up a new world of possibilities, transforming the familiar into a breathtaking panorama unfolding beneath you.
When you first start flying your drone, you suddenly feel limitless, morphing from mere observer to pilot, explorer, and artist – a fascinating fusion of perspectives.
Drone photography isn’t just about capturing moments—it’s about elevating them. It takes your experiences and shines a new light on them, illuminating perspectives that transform the ordinary into the extraordinary. And the beauty is, when others see your drone photography, they can become inspired, too.

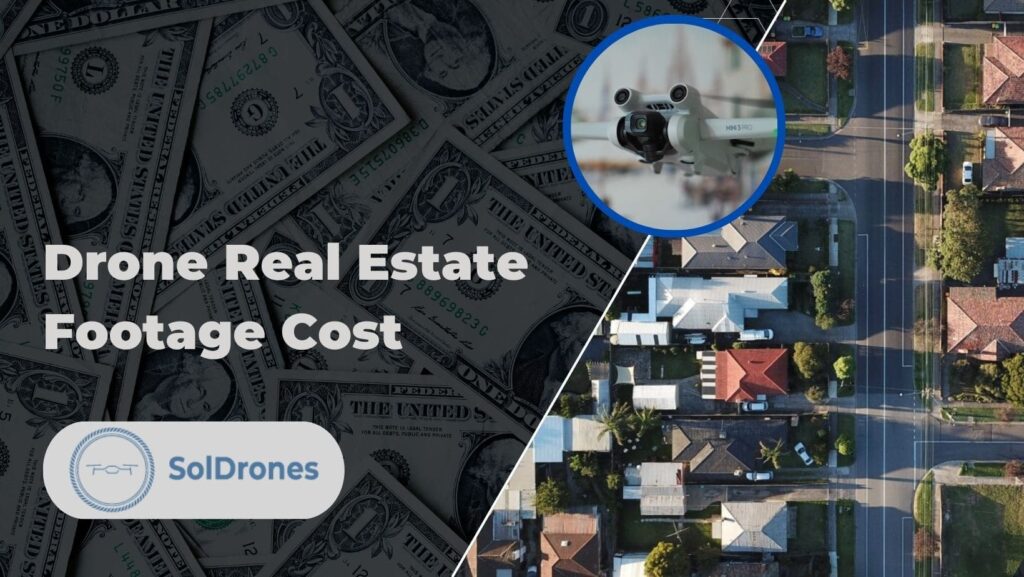
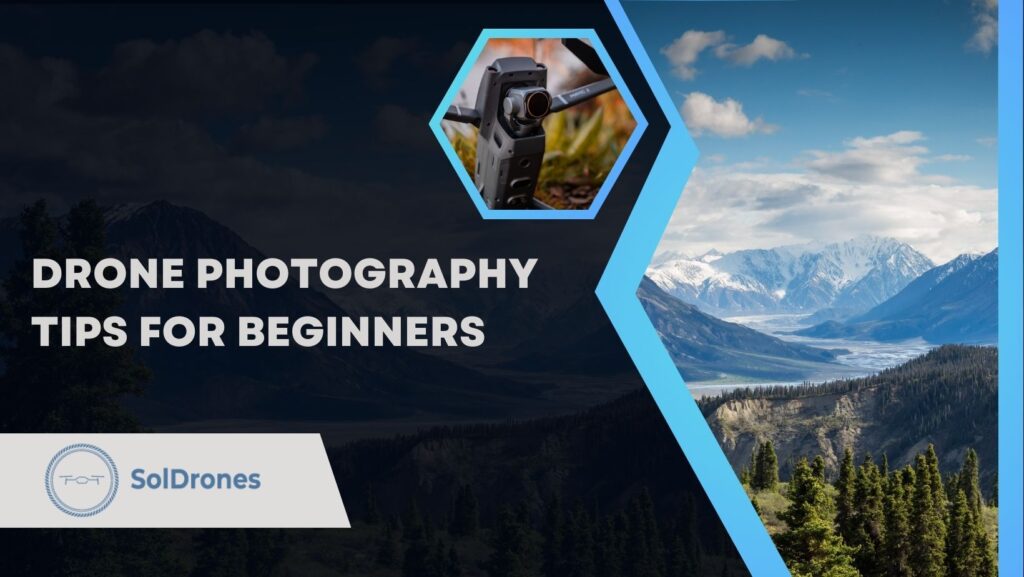
Drone photography for beginners is a journey and you must keep in mind that all professional drone photographers were once a beginner, too. In this guide, we’ll cover the tips, tactics, and framework for capturing visually stunning aerial footage, understanding intricate drone laws and regulations, and confidence in choosing the professional-grade equipment that best suits your needs.
Article Highlights:
- Becoming a good aerial photographer involves studying, practice, equipment and much more.
- Pay attention to the laws and regulations if you’re looking to turn your drone photography hobby into a profession.
- Study your drone camera settings to increase your knowledge in the field.
Drone Photography Tips Techniques
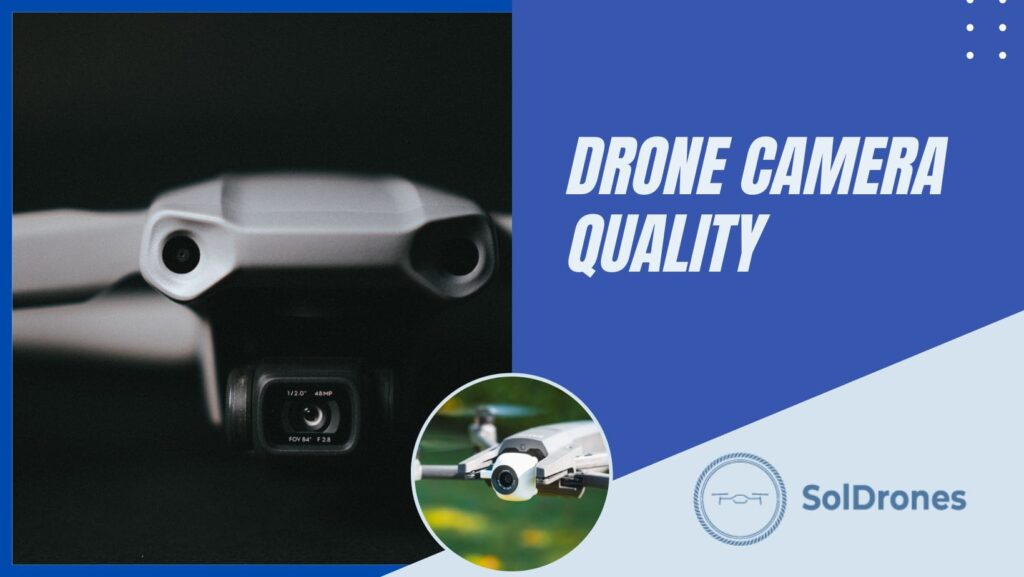
First and foremost, expert drone photographers will praise the importance of understanding your drone’s camera settings, and they’re right. If you have yet to study your drone’s camera features, such as sensors, gimbal stabilization, resolution, and more, it’s in your best interest to invest your time in understanding how these components all fit together.
Mastering shutter speed, ISO, aperture, and other essential settings can significantly improve image quality in your shots, which ultimately leads to recognition from others, which is paramount when you reach the point in which you’re ready to start your own drone photography business.
How to Capture Good Drone Photos
Immersing yourself in the world of camera-equipped drones offers a ticket to join the ranks of professional photographers. But, a word of caution: not all drones meet the cut. It’s the advanced drones, armed with high-precision digital sensors, that enable you to capture smooth footage and enchanting aerial images.
The sections below will guide you through crucial pointers, from discerning locations and harnessing the magic of the golden hour to experimenting with the diversity of heights and angles. With these insights, expect to conquer the realm of drone photography with a solid understanding of your drone’s camera settings and a honed creative vision.
Consider the following drone photography tips that encompass key concepts including camera sensor understanding, the use of slow shutter speeds, and post-production techniques:
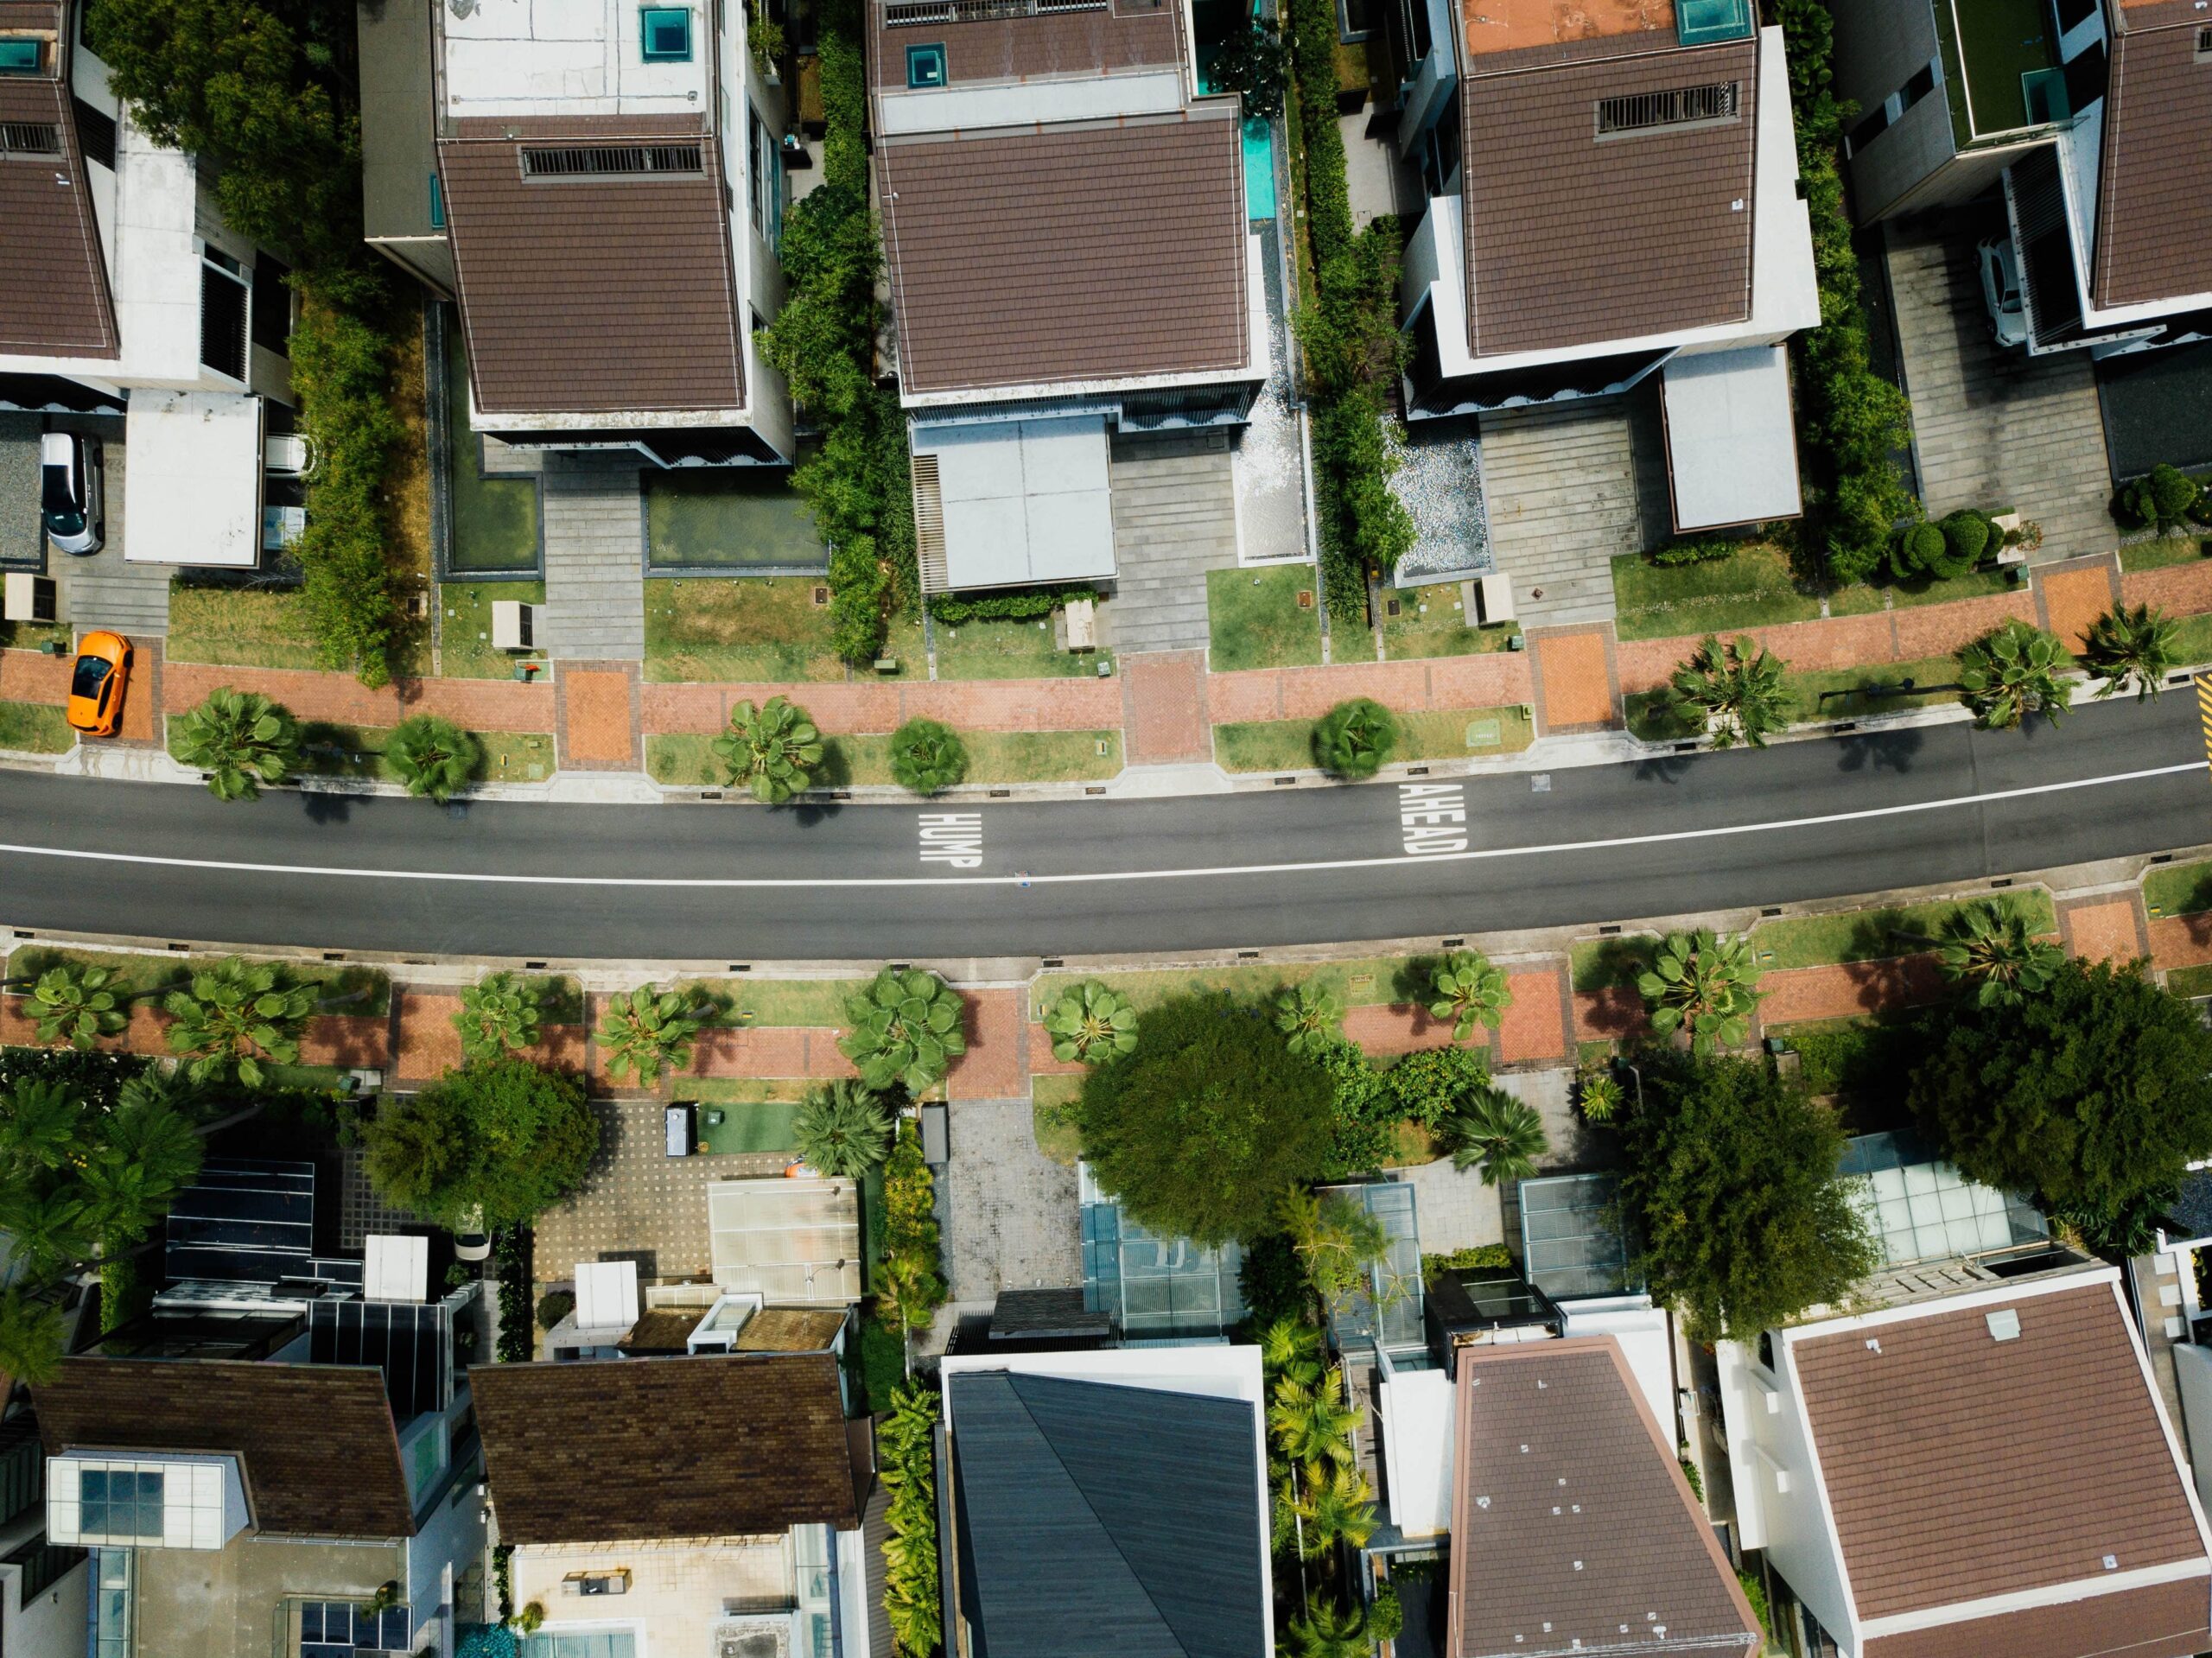
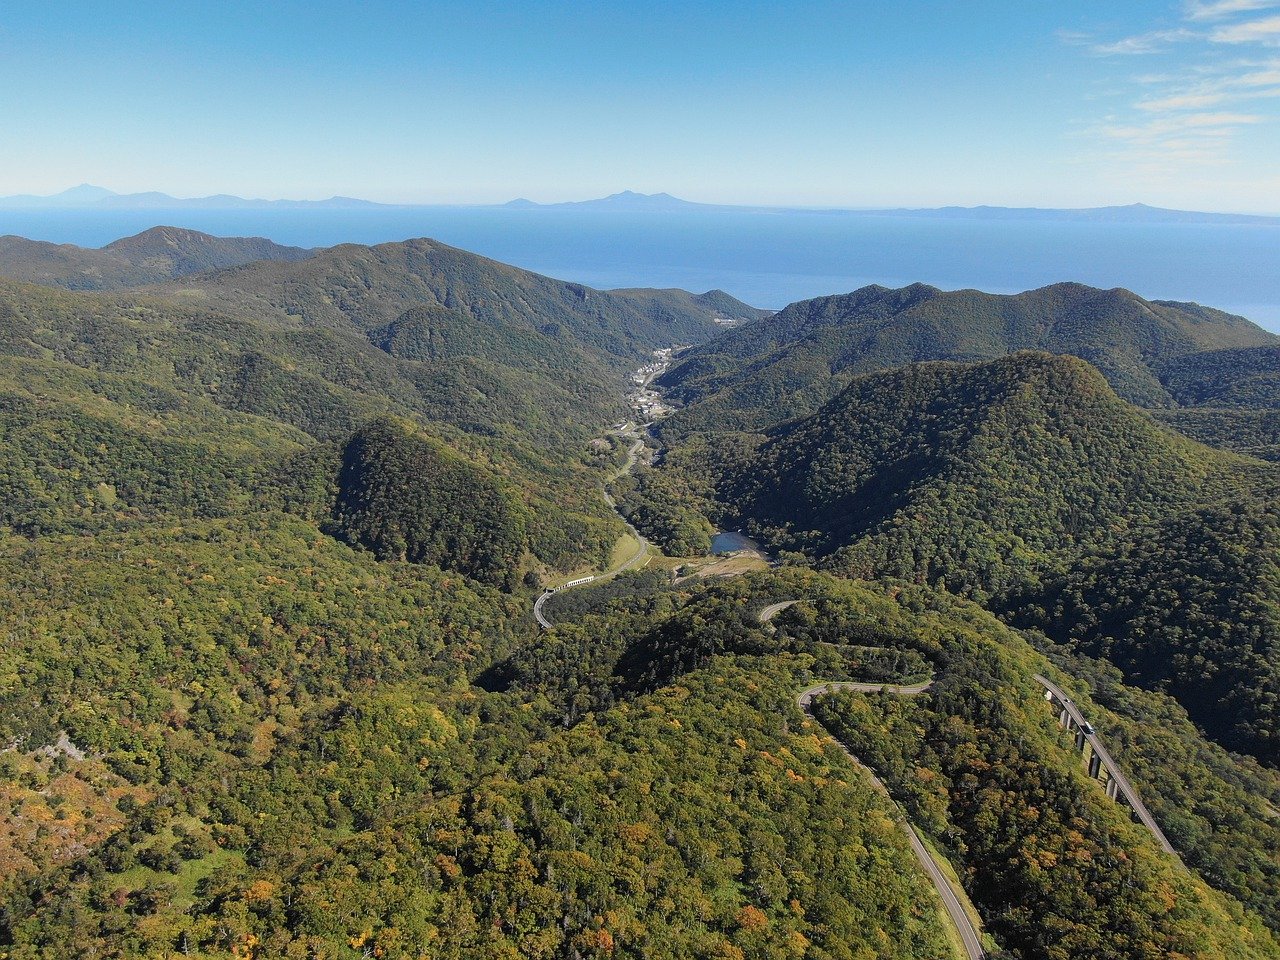
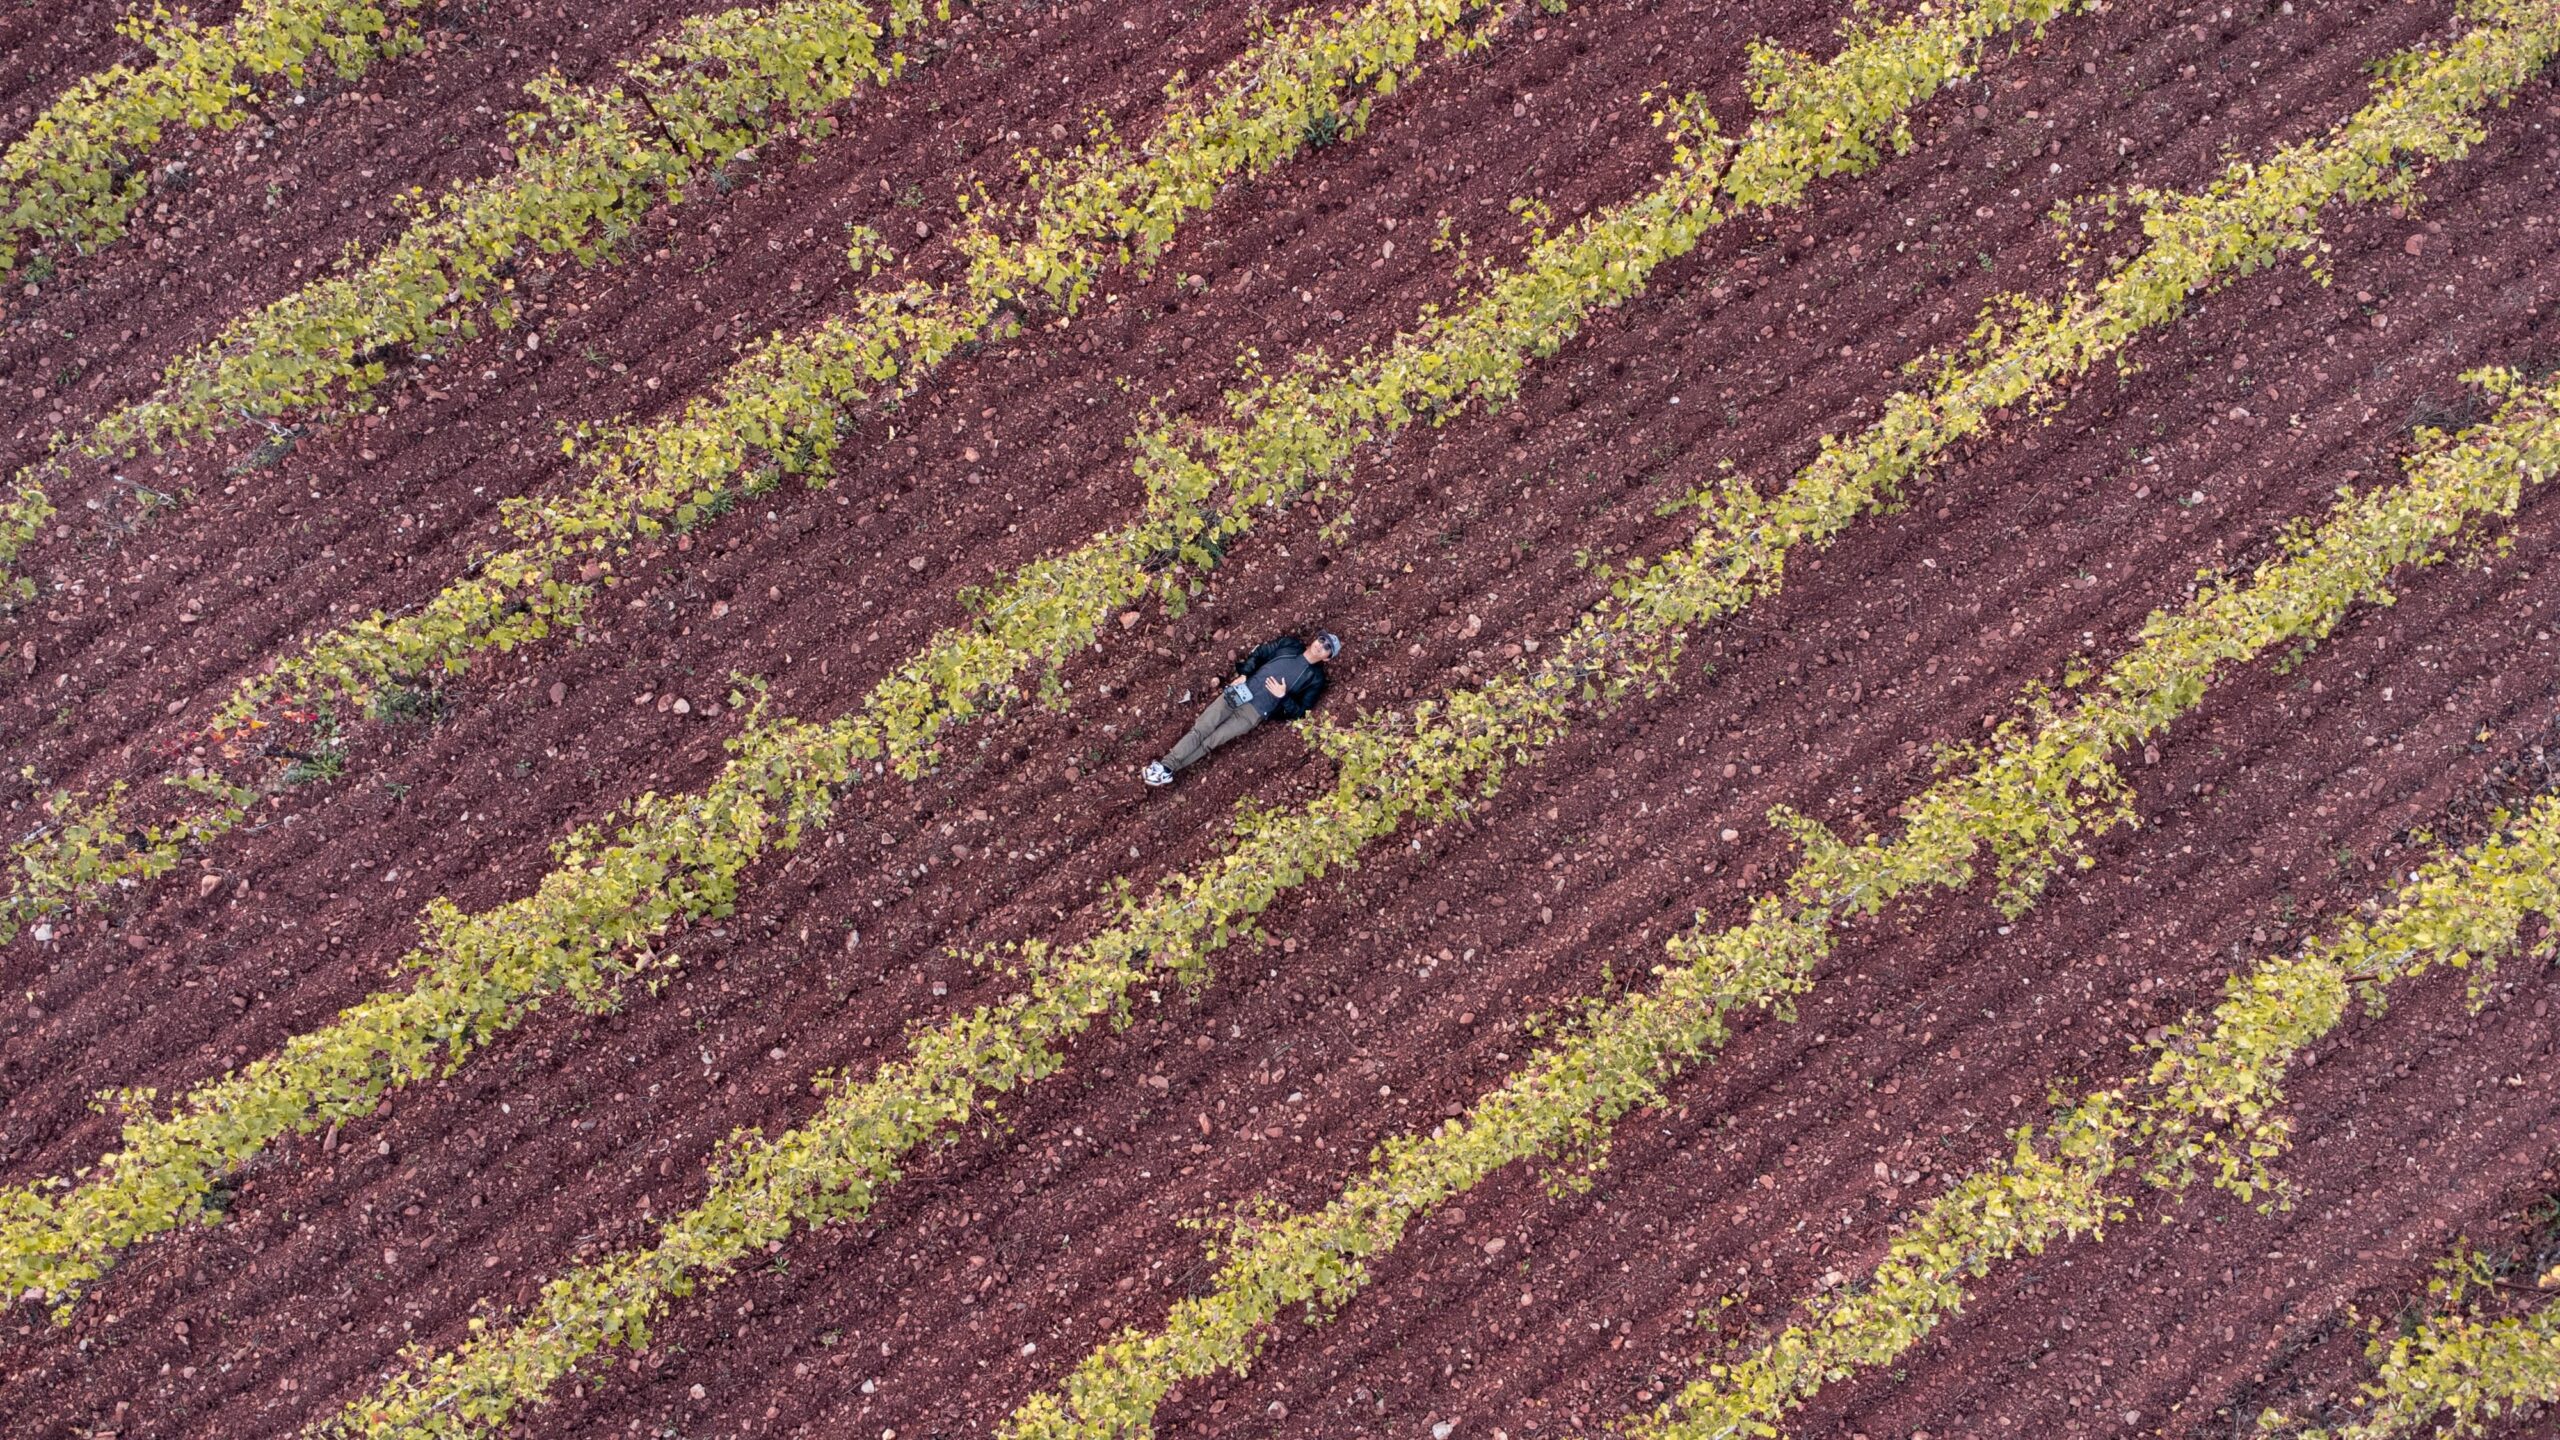
- Scout Your Locations: As any seasoned drone photographer knows, finding the right location is crucial. Sometimes, scoping Google Earth or Google Maps for an aerial view goes a long way. Search for patterns, shapes, and unique landscapes that can make your shots stand out. Understanding how these elements interact with your drone’s camera sensor can help you in achieving exceptional compositions.
- Master the Golden Hours: The hours around sunrise and sunset, often referred to as the golden hours, provide the ideal lighting conditions for drone photography. Utilizing these hours for your shoots can result in images with a dramatic effect, enhancing the depth and casting long, visually appealing shadows.
- Experiment with Heights, Angles, and Shutter Speeds: Experiment with different heights and angles, even capturing images from just a few meters above the ground. Try using slow shutter speeds for smooth footage and unique shots, like light trails or motion blur. Parallel perspectives, bird’s eye view, low-angle shots, panoramic, and landscape photography are a few angle techniques to try.
- Shoot RAW: Always shoot in RAW format. RAW photos give you much more flexibility during post-production, allowing you to tweak color balance, exposure, and other elements without degrading image quality. This can make a huge difference in the final image, especially when you’re aiming for a professional look.
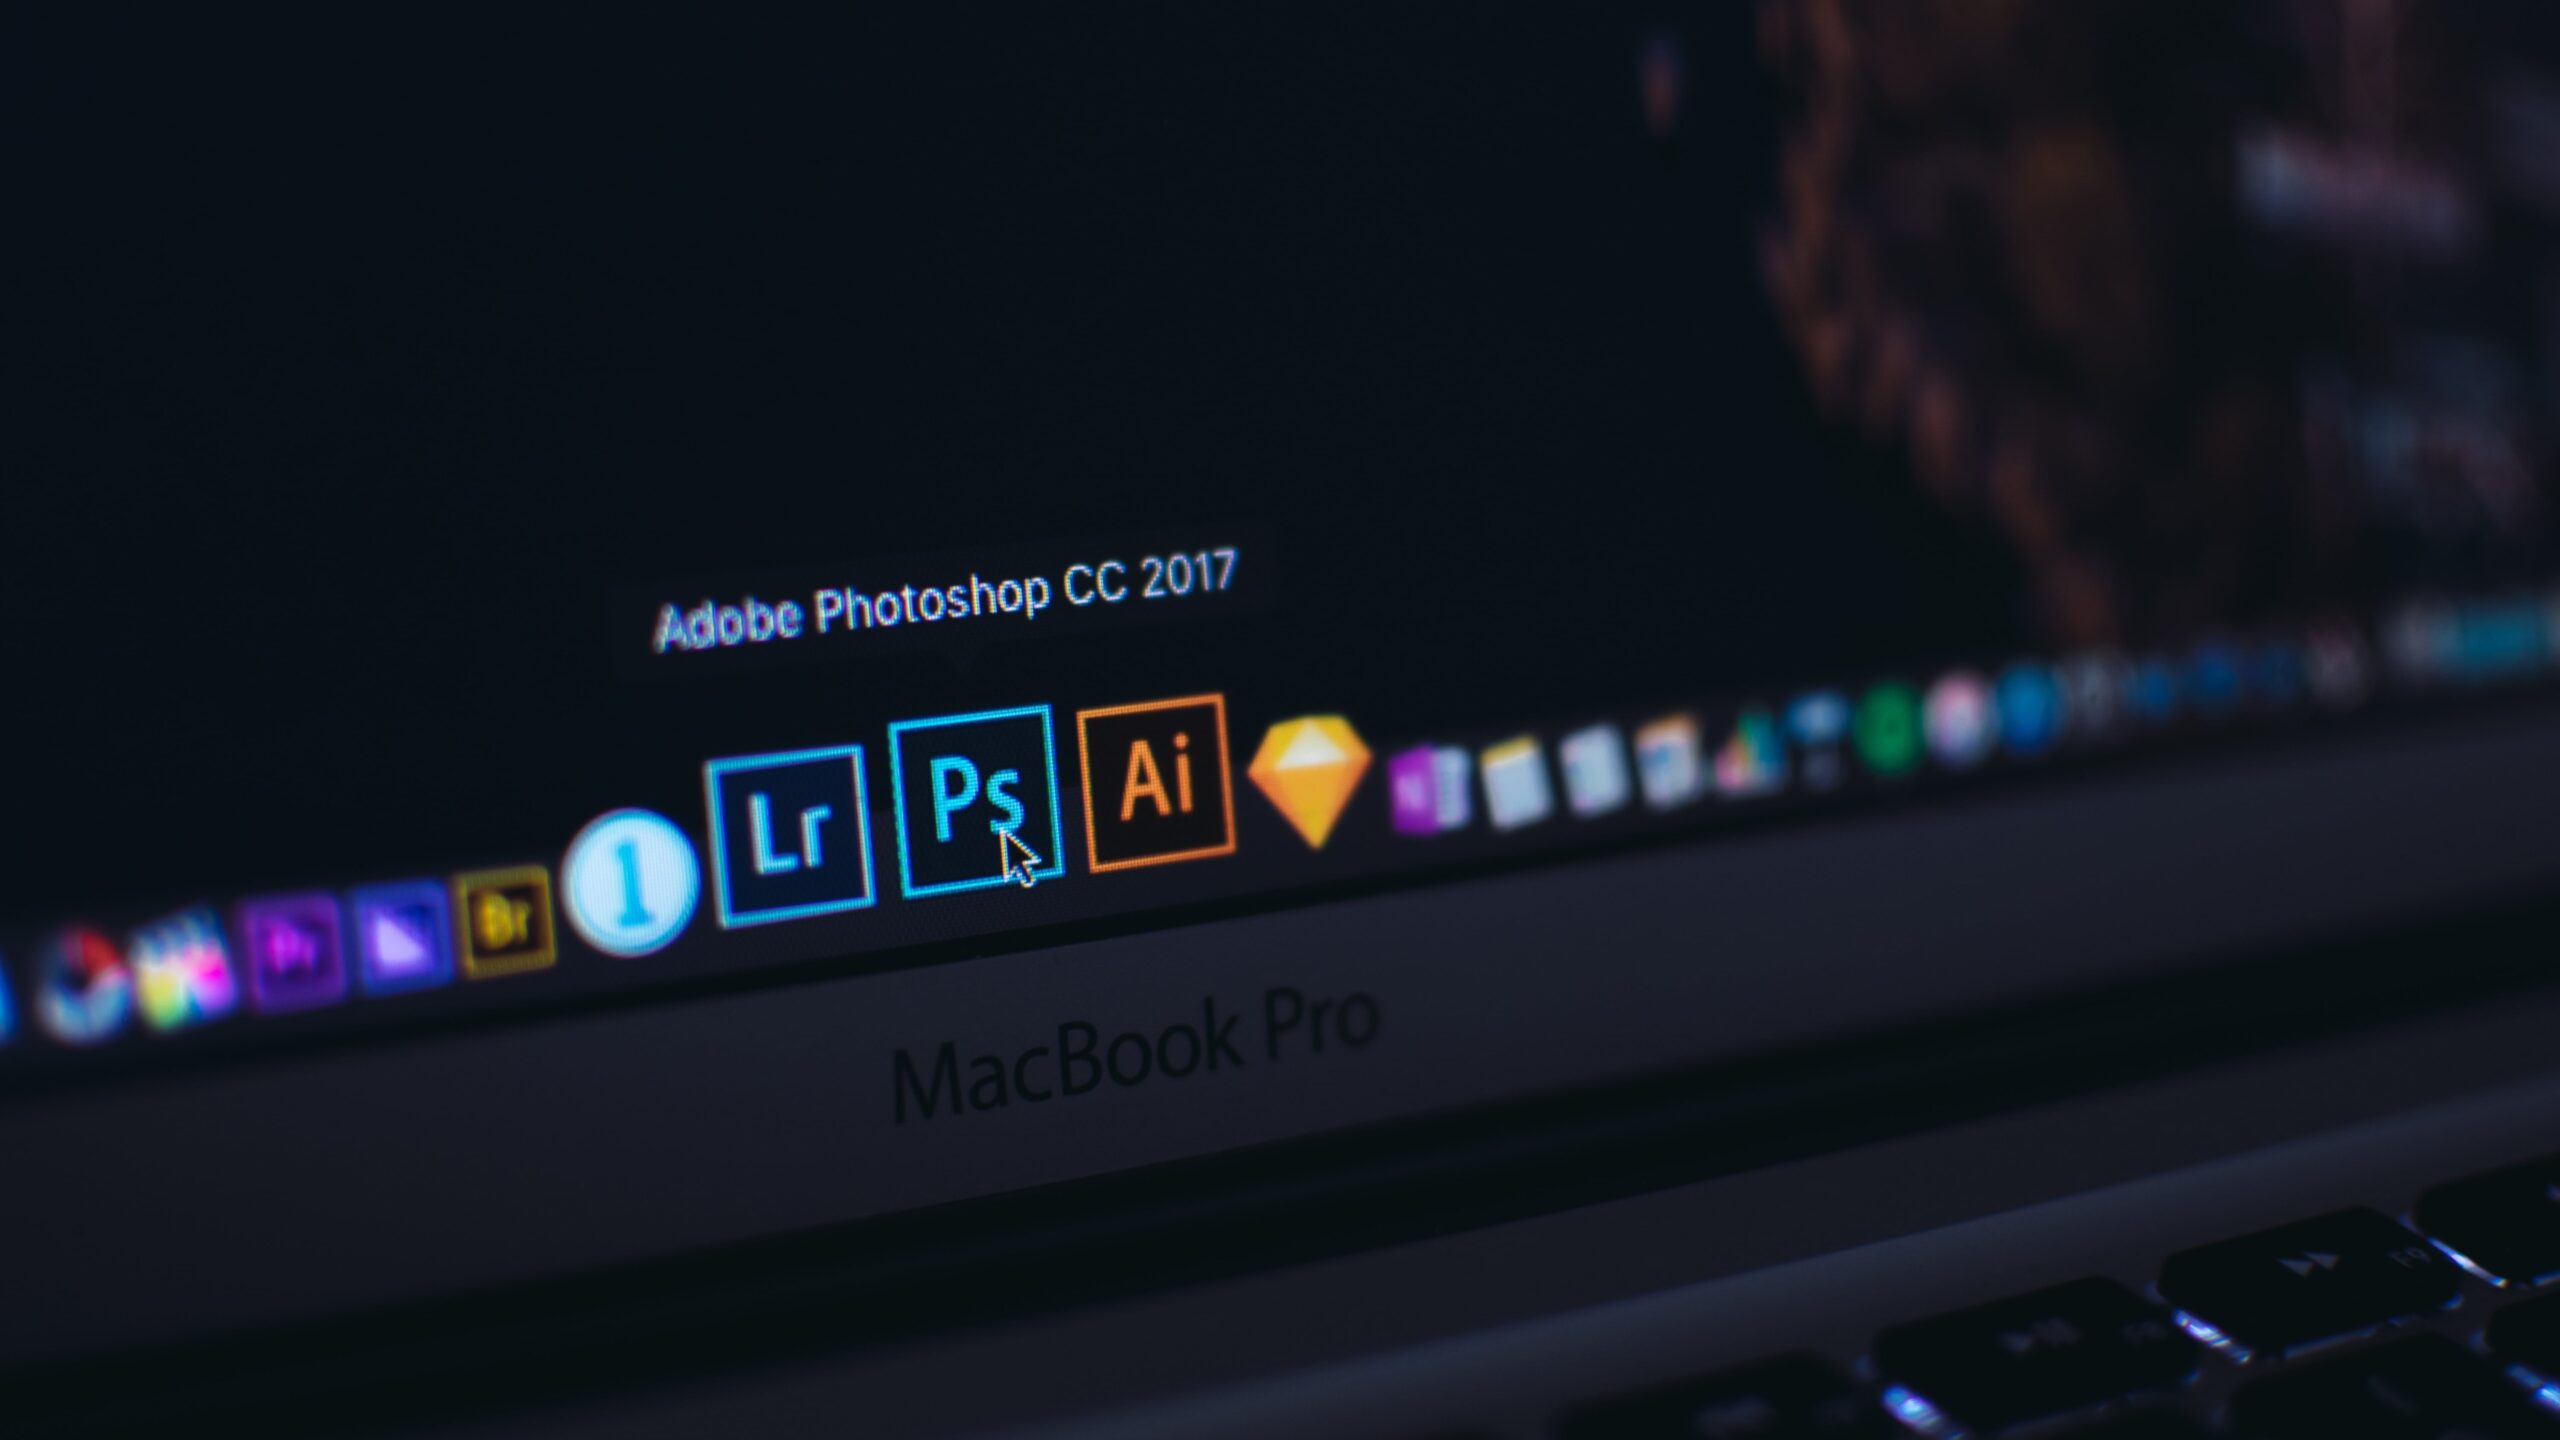
- Embrace Post-Production: Lastly, don’t underestimate the power of post-production. Post-production is where your RAW photos truly come to life. Use software like Adobe Lightroom or Photoshop to adjust colors, contrast, and sharpness. Post-production allows you to showcase your creative vision in your shots and can turn a good photo into a great one.
Remember, mastering drone photography isn’t only about understanding your drone’s camera sensor or knowing the right camera settings. It’s also about being creative, practicing regularly, and refining your post-production skills.
Understanding Rules, Regulations, and Certifications
If you’re flying a drone recreationally or professionally, there are different rules you must abide by. Put simply, to fly drones professionally and earn money as a commercial pilot, you must acquire a Part 107 Remote Pilot Certification, proving your understanding of operating unmanned aircraft systems. To prepare for this exam, consider taking online sample tests or enrolling in flight schools or universities offering relevant courses.
It’s crucial to familiarize yourself with guidelines set forth by regulatory bodies like the Federal Aviation Administration (FAA).
Registering Your Drone with FAA’s Drone Zone Portal
Once you’ve checked the box for receiving your remote pilot certification, you’ll need to register your drone with the FAA. This is a fairly straightforward step that can be done via the FAA’s Drone Zone portal, where you’ll also find step-by-step instructions. You’ll need to provide some basic information about yourself and your drone before paying a nominal fee.
Choosing the Right Equipment for Professional Use
In the process of becoming certified and registering your drone, you’ll need to buy a drone, along with other essential drone equipment. To start with the best beginner drones, consider the following models:
- DJI Mini 3 Pro: A lightweight drone under 250 g, with 34 minutes of flying time and a lot of potential to capture 4K video and high-quality images.
- Autel Robotics EVO Lite+: This beginner-friendly model boasts a 48MP camera and an impressive flight time of up to 40 minutes per charge.
For more serious professionals looking to invest a bit more in their first drone, consider the following models:
- DJI Air 2S: With its powerful 1-inch sensor, this versatile quadcopter is ideal for pros seeking stunning image quality without sacrificing portability or ease of use.
- Autel Robotics EVO Nano+ Series: This top-of-the-line drone offers a 50MP camera and obstacle avoidance capabilities, making it perfect for capturing those hard-to-reach shots.
Spend some time evaluating which type of drone is best for you, as the right equipment can make or break your aerial photography experience, so choose wisely.
Additional accessories you may need to consider purchasing include:
- Extra Batteries: Drone flight times can be surprisingly short, often 20-30 minutes at best; having a few extra batteries on hand will ensure that your flight and photography sessions aren’t cut short.
- Spare Propellers: Accidents can happen and propellers can get damaged. Keeping spare propellers on hand will allow you to continue your drone photography session without a hitch.
- Durable Carrying Case: A sturdy, well-padded carrying case is essential to protect your drone and its accessories during transport, making sure your equipment stays safe and sound between locations.
- Landing Pad: This helps to prevent damage from takeoff and landing, especially in rugged terrain, and can also prevent debris from getting into the drone’s camera and motors.
- Neutral Density Filters: These act like sunglasses for your drone’s camera sensor, helping to reduce glare and create smoother, more cinematic footage in bright lighting conditions.
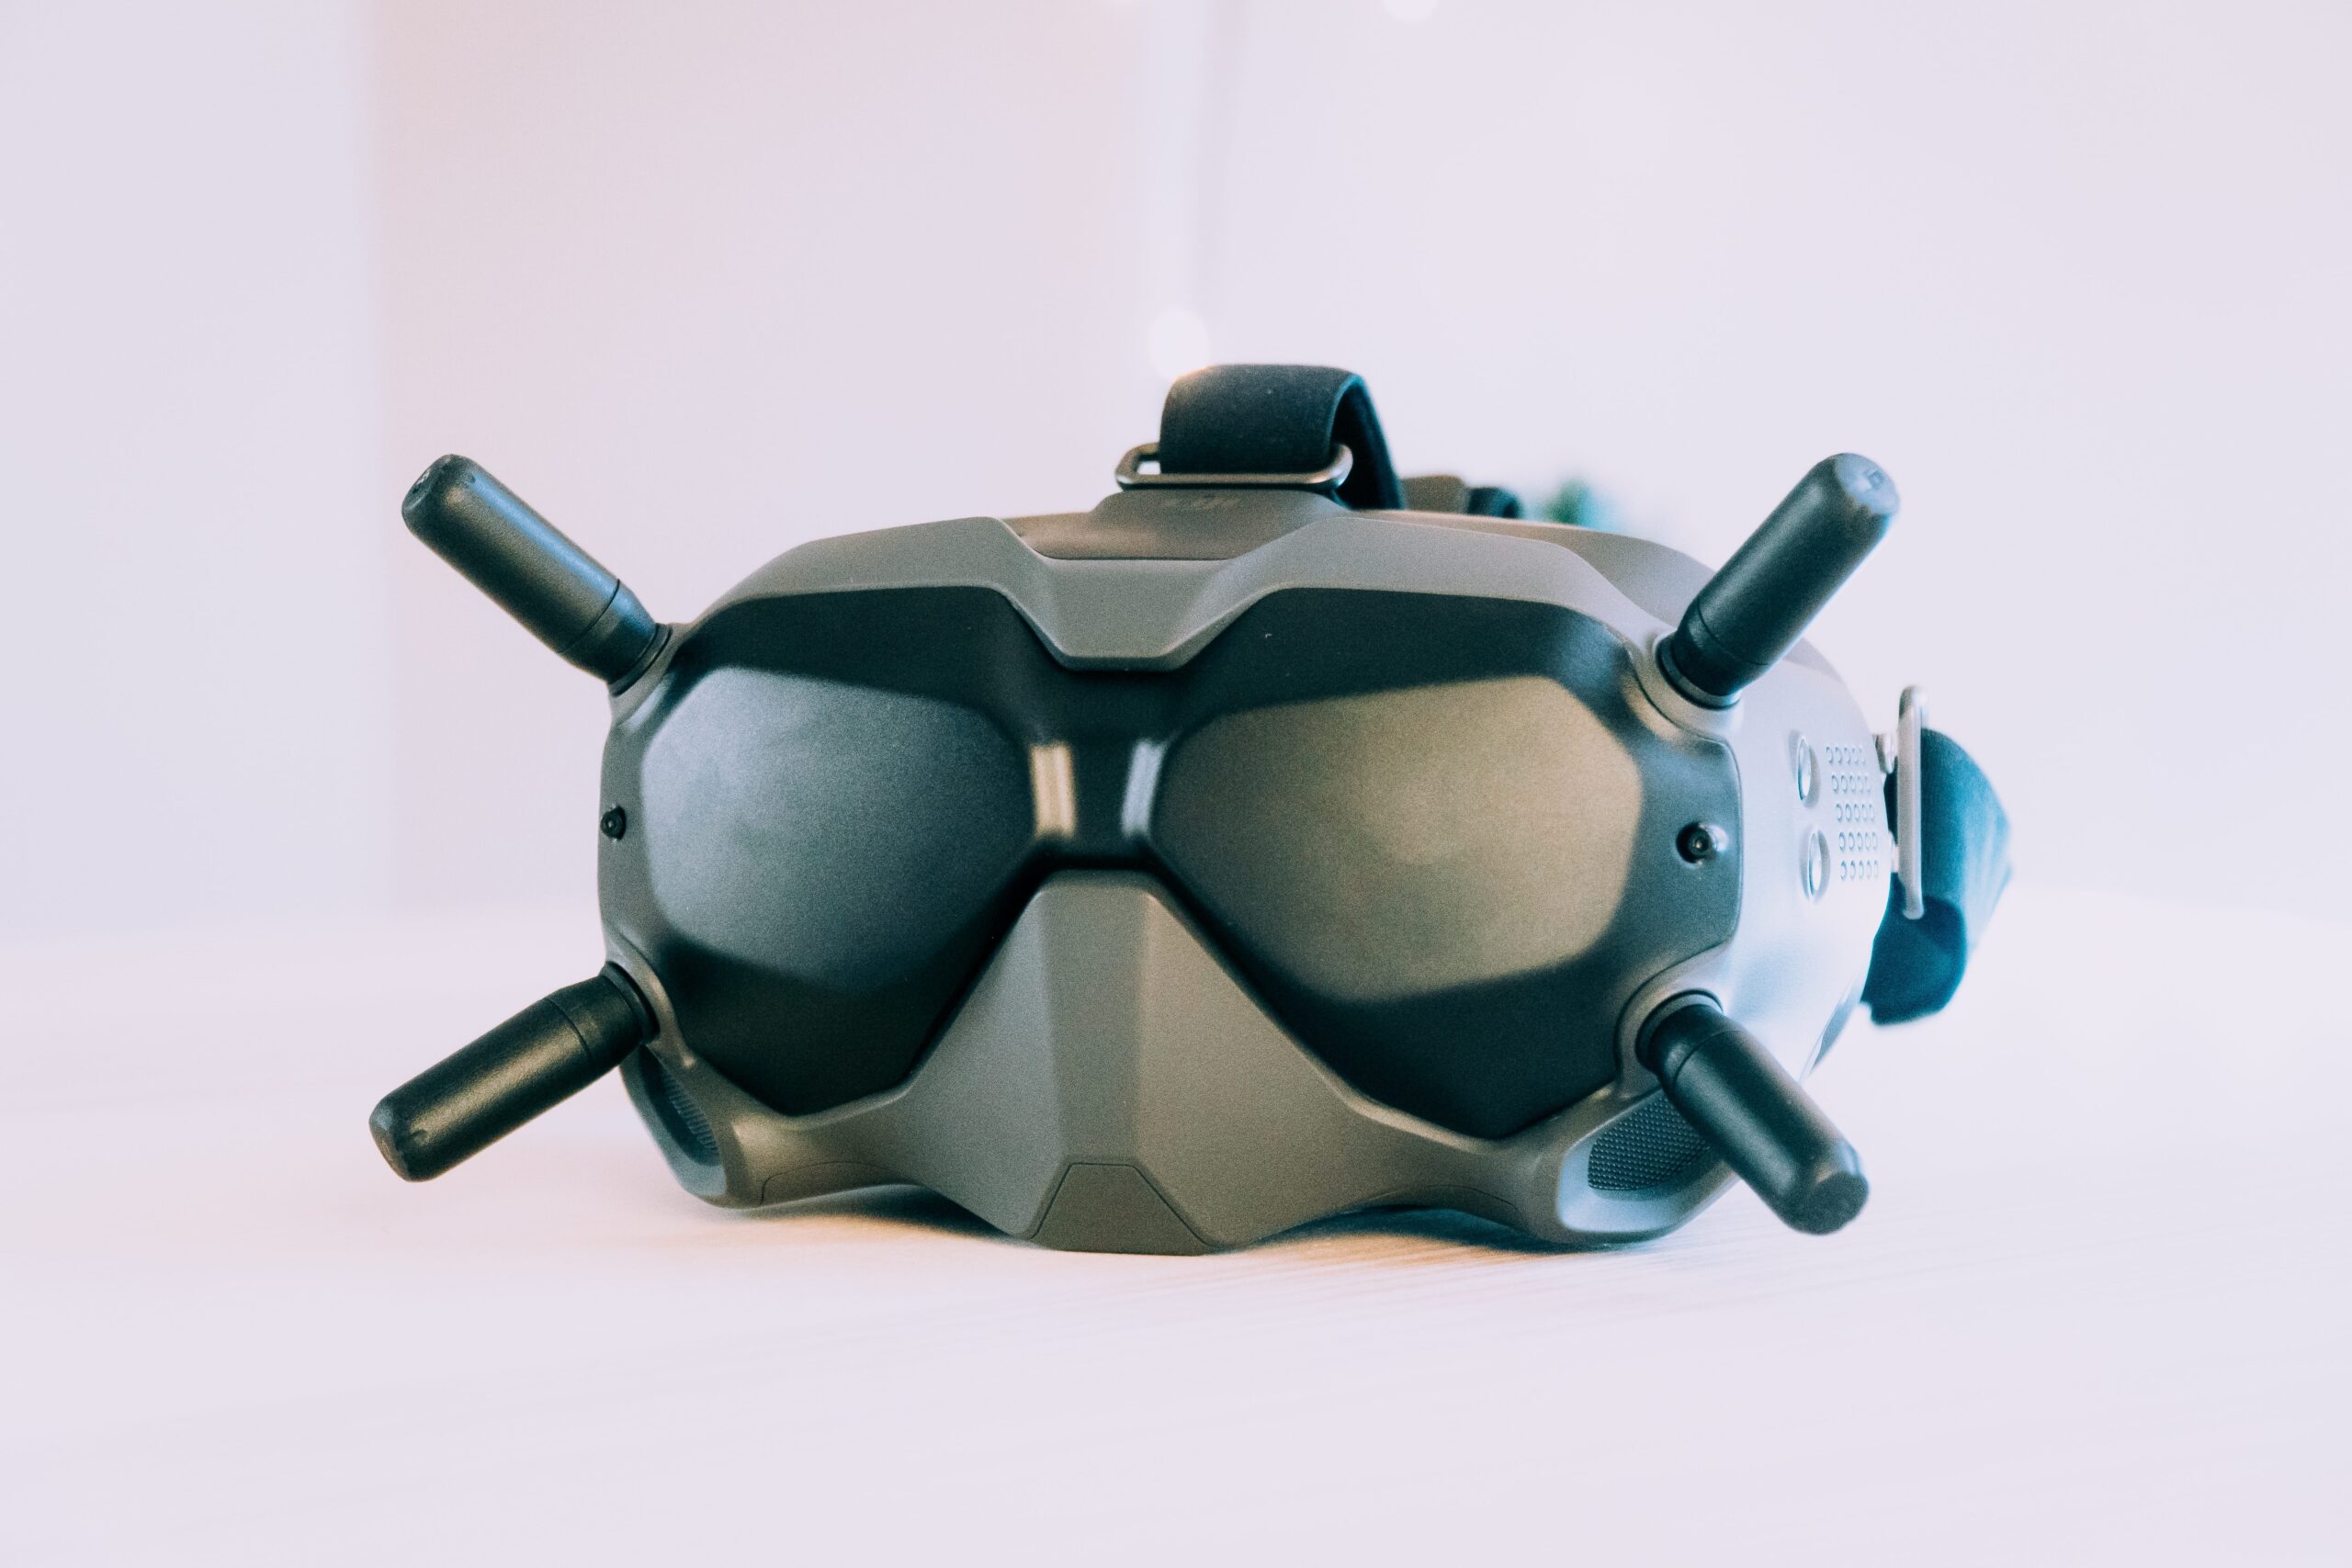
Pro tip: For an even more immersive flying experience, consider investing in FPV (First Person View) goggles, which allow you to see exactly what your drone sees as it soars through the sky.
Now that we’ve covered selecting the right gear, let’s dive into mastering those all-important camera settings for jaw-dropping aerial photos.
Mastering Camera Settings in Aerial Photography
To capture breathtaking aerial shots, you need to understand and master your drone’s camera settings.
We’ll walk through a few of the most essential tips, but always spend some time reviewing the get-started guides and videos offered by your drone manufacturer.
- ISO: This setting determines the sensor’s sensitivity to light. Lower ISO values (like 100 or 200) are used in bright conditions to prevent overexposure, while higher values (like 800 or 1600) may be used in low light, but might introduce more noise into the image.
- Shutter Speed: This controls how long the camera sensor is exposed to light. Faster shutter speeds (like 1/1000th of a second) are used to freeze motion, while slower speeds (like 1/60th of a second) can capture motion blur for a sense of movement.
- Aperture: This is a measure of how wide the camera’s lens opens during a shot. A wider aperture (a lower f-number, like f/2.8) lets in more light, but reduces the depth of field, meaning less of the scene will be in sharp focus. A smaller aperture (a higher f-number, like f/8) gives a greater depth of field but lets in less light.
- White Balance: This setting determines the overall color balance of the image based on the lighting conditions. You can manually set the white balance or use presets such as “Daylight”, “Cloudy”, or “Incandescent”, to ensure the colors in your images look natural.
- Picture Profile/Color Mode: This setting determines the colors, contrast, and saturation levels of the images and footage. Some drones offer log profiles (like D-log on DJI drones), which capture a flat, desaturated image that retains more detail for post-production color grading.
The Importance of ND Filters in Creating Motion Blur Effects
Another drone camera feature to understand is Neutral Density (ND) filters.
An ND filter is like sunglasses for your drone’s camera – it reduces light entering the lens, allowing you to shoot at slower shutter speeds and create motion blur effects that add depth to images captured during movement.
Mastering these settings can aid in capturing amazing aerial shots and videography with your drone.
High Dynamic Range (HDR) Photography in Aerial Images
HDR photography is a game-changer when it comes to capturing breathtaking aerial shots.
This technique involves taking multiple photos with different exposure values, then combining them to reveal intricate details from shadows without overexposing brighter areas within the image.
To master HDR, experiment with various exposure settings on your drone camera while shooting high-contrast scenes like sunsets or cityscapes.
Editing Your Drone Photography (Post Production)
As a drone photographer, mastering post-processing is critical to transforming your raw camera drone captures into powerful photographs. Tools such as Adobe Lightroom and Photoshop are industry favorites for editing drone photos, offering an array of options to enhance and manipulate your images.
The key principles of editing involve color grading, contrast adjustments, and applying corrections where needed, turning interesting scenes into breathtaking compositions. Timing your captures during the golden hour can yield naturally beautiful colors, but it’s in post-production where those colors can truly come to life.
You’ll definitely want to ensure you have a high-capacity micro SD card – you’ll need plenty of space to store these enhanced, ready-to-share photographs.
Bear the following tips in mind when editing your drone photos:
- Color Grading: Manipulating colors can dramatically alter the mood of your image; a slightly warmer hue might evoke nostalgia, while a cooler one can provide a sense of tranquility.
- Contrast and Exposure Adjustment: Properly adjusting contrast and exposure can bring out the details in your image; be careful not to overdo it, as it can lead to a loss of image quality.
- Cropping and Composition: Re-cropping your image can help better align your subject with the ‘rule of thirds,’ drawing the viewer’s eye to the main points of interest more naturally.
- Noise Reduction and Sharpness: Use these settings sparingly to maintain image quality; overuse can lead to an unnatural look, while proper use can help your images appear crisp and clear.
Drone Photography Theory and Additional Tips
When talking about the theory of drone photography, there’s a fusion of time-honored principles and new possibilities brought about by the bird’s-eye perspective. The rule of thirds, patterns, and dynamic tension transform aerial imagery, while the novel flexibility drones offer in terms of light management further broadens the creative playground.
Applying the Rule of Thirds in Aerial Photography
The Rule of Thirds is a fundamental principle that every photographer should know and use. In aerial photography, this rule helps create balanced compositions by dividing your frame into nine equal parts using two horizontal and two vertical lines. Place key elements along these lines or at their intersections for visually appealing results.
Capturing Patterns and Dynamic Tension for Captivating Imagery
Aerial shots offer unique perspectives, allowing you to spot interesting patterns from above, such as roads, walkways, or landscaping features. Leading lines, both natural and man-made, can draw viewers’ attention toward focal points within your image. Use them wisely. Create dynamic tension by showcasing energy and movement within your photos. Think about capturing waves crashing on a beachfront property or cars passing by an urban development site.
Utilizing Different Lighting Conditions Effectively
- Morning: Capture crisp shadows and cool tones as the sun rises. Perfect for showcasing architectural details or adding depth to landscapes.
- Noon: Make use of harsh sunlight by focusing on patterns created by strong contrasts between light and shadow areas. Ideal for creating striking abstract compositions or emphasizing geometric shapes in urban settings.
- Sunset: Embrace the warm hues cast over your subjects during this magical hour. Great for enhancing textures in nature scenes or highlighting dramatic skies above cityscapes.
To sum it up: don’t be afraid to experiment with different times of day while shooting from your drone. Remember, practice makes perfect, and the more you explore various lighting conditions, the better your aerial photography skills will become.
Conclusion
Embarking on your journey into drone photography, you’ve learned that it’s not just about understanding the mechanics of flight, but also mastering the art of aerial imagery. From comprehending the essentials of drone regulations to selecting the right equipment, each step has prepared you for a safer and more creative flight. Familiarizing yourself with camera settings and functions is instrumental in capturing vivid, stunning shots, while adopting key photographic theories like the rule of thirds, dynamic tension, and the effective use of various lighting conditions, provides the creative foundation for your aerial vision. With practice and patience, you’re not just operating a drone, but painting the skies with your unique perspective. Always remember to continue learning, stay updated with the latest industry trends, and most importantly, let your creativity take flight. Welcome to the riveting world of drone photography!
FAQs in Relation to Drone Photography Tips
How can I get better at drone photography?
To improve your drone photography skills, practice regularly and familiarize yourself with your drone’s features. Master camera settings, and composition techniques, and use native apps for optimal results. Experiment with different angles and lighting conditions while adhering to the rule of thirds. Learn from other professionals by studying their work and attending workshops.
What are the factors that we have to keep in mind while doing drone photography?
When conducting drone photography, consider factors such as local regulations, weather conditions, flight safety precautions, battery life management, proper equipment maintenance, and privacy concerns of people or property being photographed or filmed. Additionally, focus on mastering camera settings like ISO levels exposure compensation white balance shutter speed aperture values.
What is the rule of thirds in drone photography?
The rule of thirds is a compositional technique where an image is divided into nine equal parts using two equally spaced horizontal lines intersected by vertical ones creating a grid pattern placing subjects along these intersections points helps create balanced visually appealing photographs This principle applies well to aerial shots providing sense depth perspective.
What is the best angle for drone photography?
The ideal angle for capturing stunning images varies depending on the subject matter and landscape topography However generally speaking high-angle shots reveal more context surrounding the area while low-angle perspectives emphasize foreground elements Experimenting with finding unique viewpoints essential to unlocking full potential drones offers photographers videographers alike.